Stereoscopy
Stereoscopic photography is not a new concept, and to me it is surprising that so little is heard about it these days. Landscapes, for example, can't be fully appreciated unless viewed in 3D. The process of taking stereoscopic images is easy; first take a photo and remember the focus of the scenery, next take the same photo centering on the same focus but standing about 10 cm to the right of where you were (so now you effectively have 2 images of the same scenery, one for each eye).
Viewing stereoscopic photos does not require great skill, just a little patience for first-timers. The trick is to stare past the stereoscopic image until you see three photos (instead of the actual two). The one in the middle is the superimposed image of the two images on the outside. The skill lies in lining up these 2 outside images to produce the stereoscopic image in the middle.
You know you're close when the middle image is as large as each of the outside ones. This is the time to relax and scan the whole middle image a little, slowly you will start to see the image in 3D. It often helps to pick an outstanding feature and try to overlap them by focussing the eyes just enough. The effect is quite startling (like something inside the brain switching on). The lining up is purely done by focussing the eyes at will. This is not something we're accustomed to, and may take a little time at first.
If it is difficult to get the middle image to full size, move a little further from the screen; it is much easier to line up when the stereoscopic images are small.
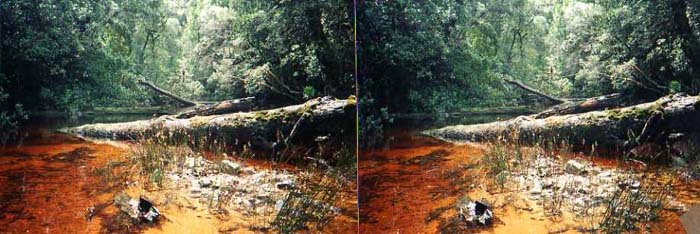
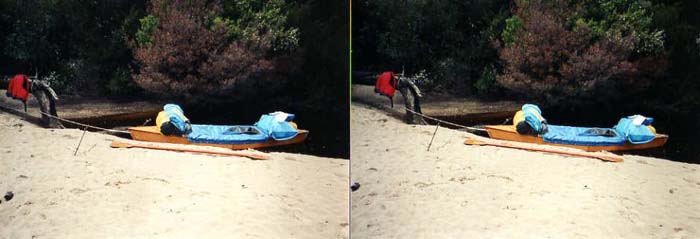
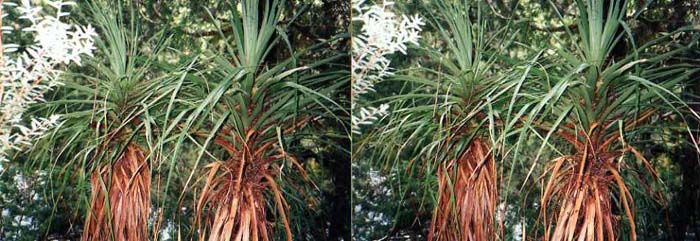
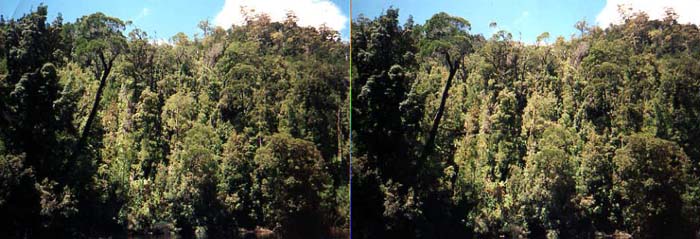
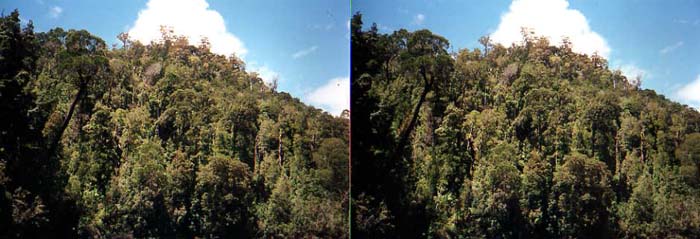
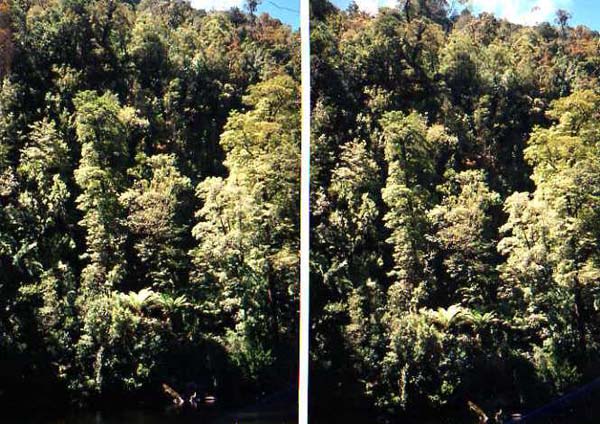
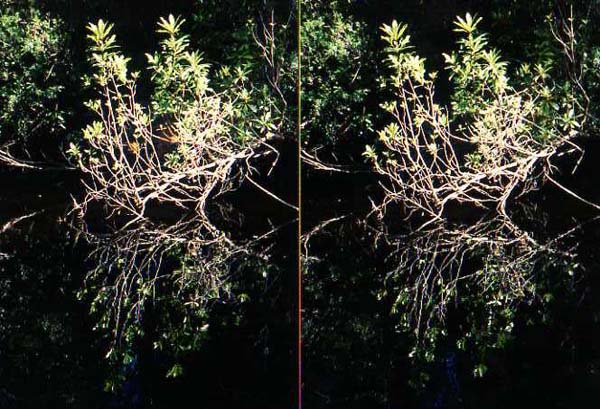
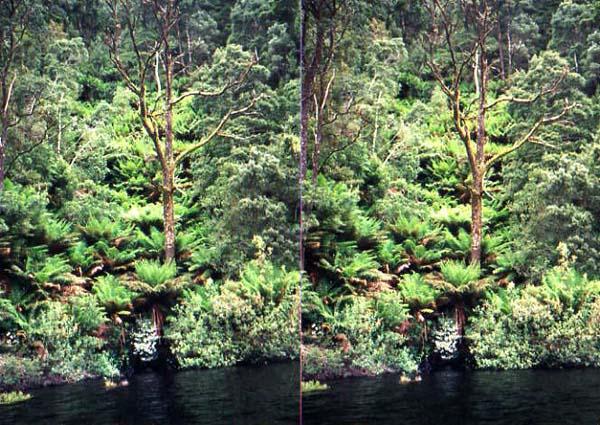
The following stereoscopic photos were taken on a 10 day kayak solo trip on the Gordon river in the South West wilderness of Tasmania (Australia).